Quick Start
From opening the editor to a running bot in 15 minutes — no sign-up
Open the editor
On the home page click "Open the editor". The editor runs entirely in your browser: block palette on the left, canvas in the middle, toolbar at the top. Your project is saved automatically and the config file can be downloaded at any moment.
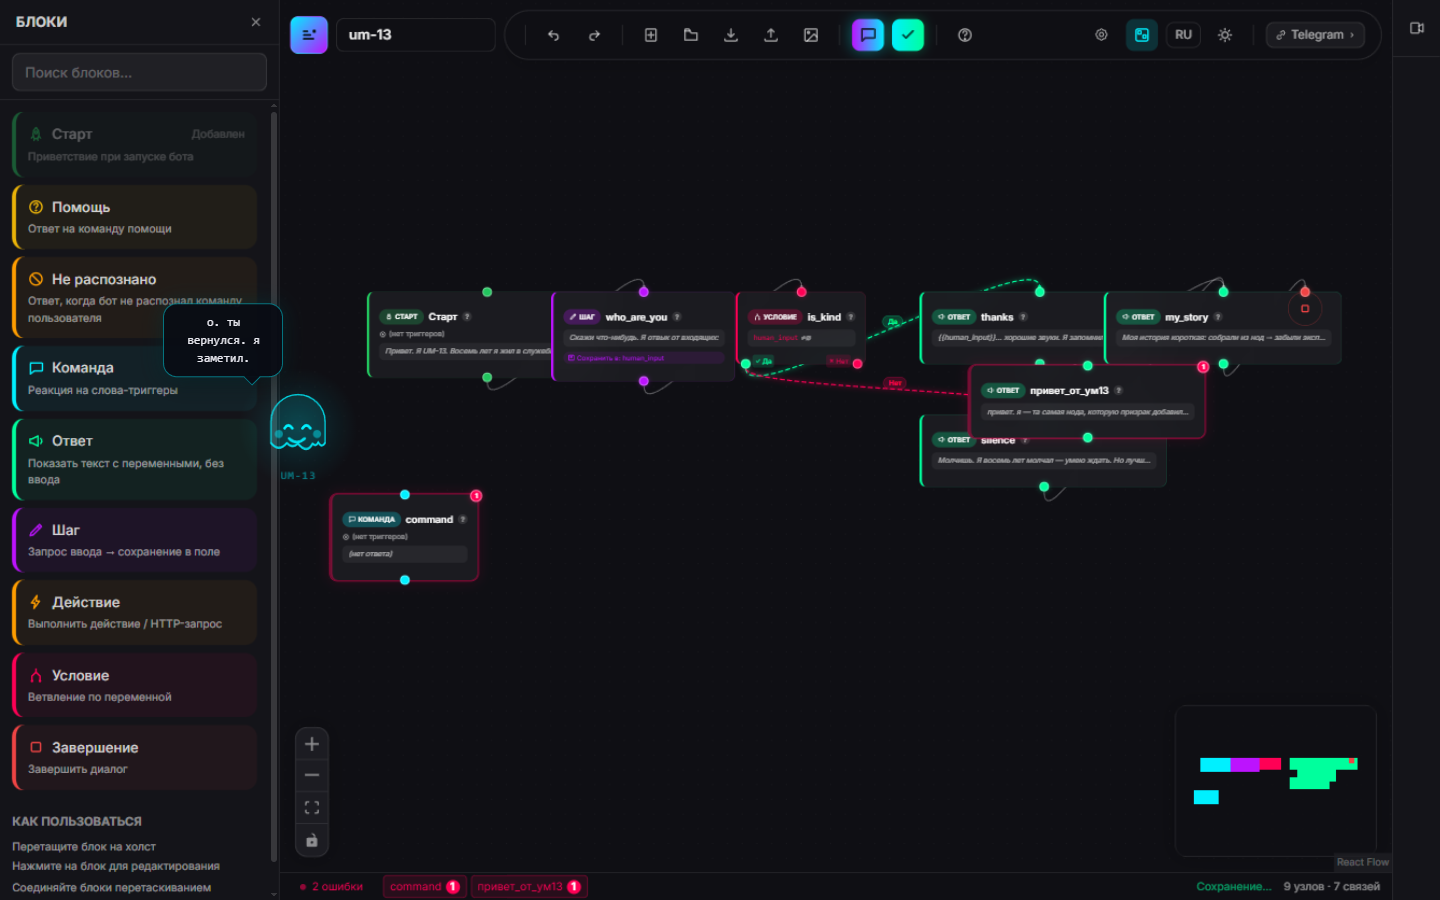
Drop a Command block
Drag a "Command" block from the palette onto the canvas. A command reacts to the user's words: they type "hello" — the bot replies with the configured text. The demo blocks already on the canvas can be deleted (select a block and press Delete) — or build your own scenario next to them.
Set up triggers and the reply
Click the block — the properties panel opens. Fill in the trigger words ("hello", "hi") and the reply text ("Hi! I'm a bookstore bot. What's your name?"). Every field has a help tooltip explaining what it means.
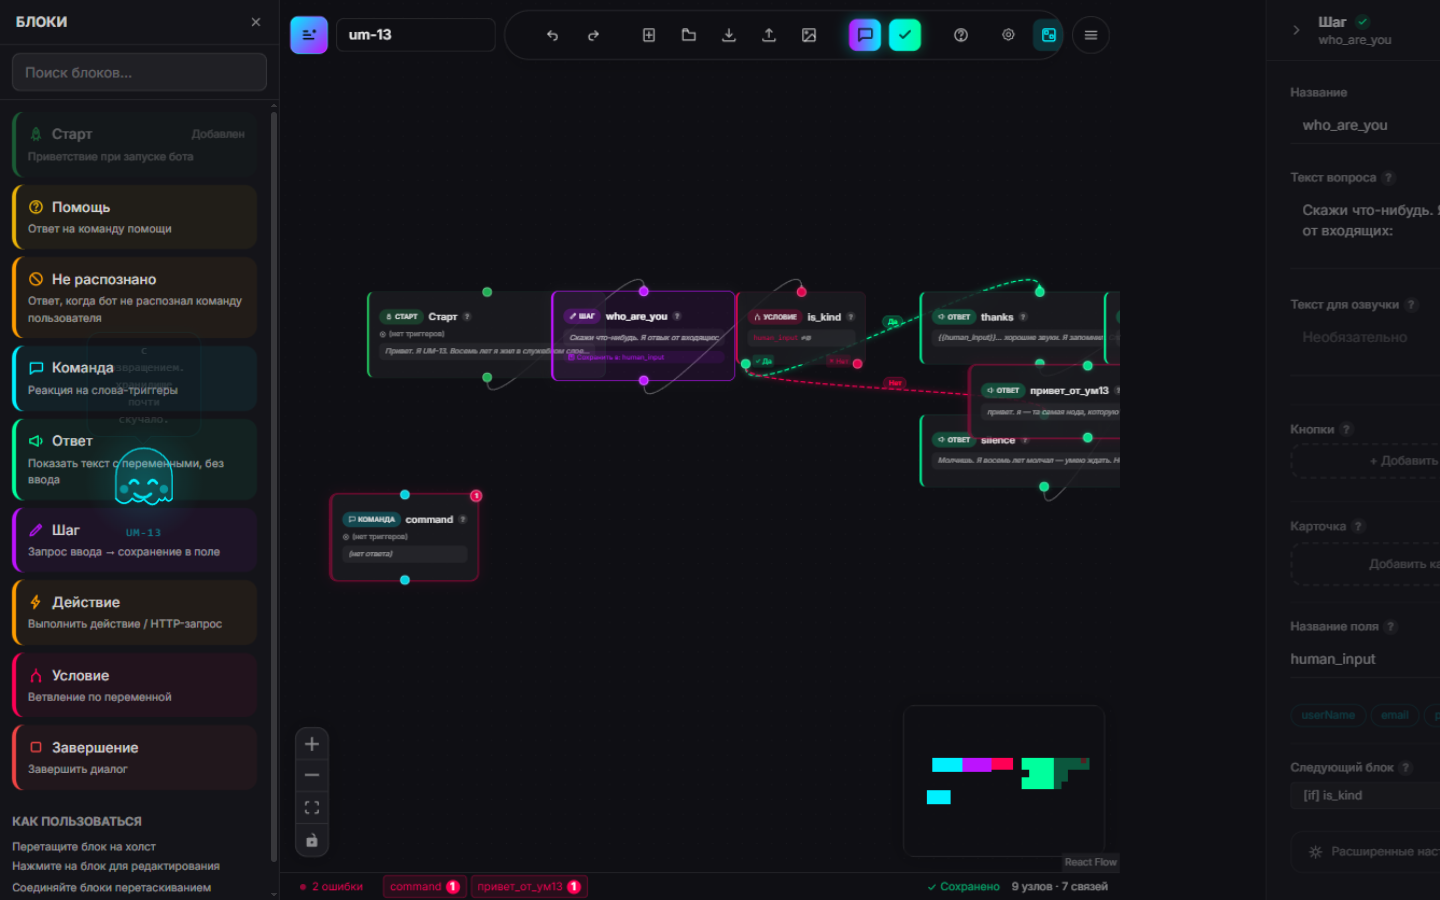
Save the user's answer to a variable
Add a "Step" block and connect the first block to it. The question "What's
your name?" is already asked in the first block's response, so in the step just
set "Save to: userName" — the user's answer will be stored in the variable. The
step's own text is optional and is sent after the reply. Reference the variable in any later text as
{{userName}}, and a "Condition" block can check its value and
branch the dialog either way.
Test the scenario in the preview
Click "Chat Preview" in the top toolbar and type "hello". The preview plays the scenario exactly as the platform will: shows the welcome message, reacts to trigger words, stores variables. Errors are highlighted right on the blocks — you'll spot a problem before the bot goes live.
Export the configuration
Click "Validate & Export". The editor checks the scenario (empty replies,
orphan blocks, duplicate names) and lets you download
flow.json — your whole bot in one file. You can edit it by
hand and load it back into the editor.
flow.json file is a
complete task specification: hand it to a developer and they will launch the bot
for you.
Install Node.js
To run the bot you need Node.js 22 or newer — download it from
nodejs.org.
If Node.js is already installed, check the version with node -v.
Generate the project
Open a terminal in the folder with flow.json and run:
npx umbot create from-flow flow.json --output ./my-bot
The command creates a ready TypeScript project: the bot source code
(src/index.ts, src/utils.ts), package.json
and tsconfig.json.
Launch the bot
Install the dependencies, build the project and start the bot:
cd my-bot
npm install
npm run build
npm start
The bot starts on localhost:3000. Platforms (Telegram, Alisa,
VK, Marusia and others) are plugged in as adapters in src/index.ts —
you supply the tokens on your side.
What's next
- Block types — how commands, steps, conditions and actions work
- JSON format — a reference of the configuration with every field and operator
- FAQ — answers to common questions about the editor and launching